Loved Beyond Measure

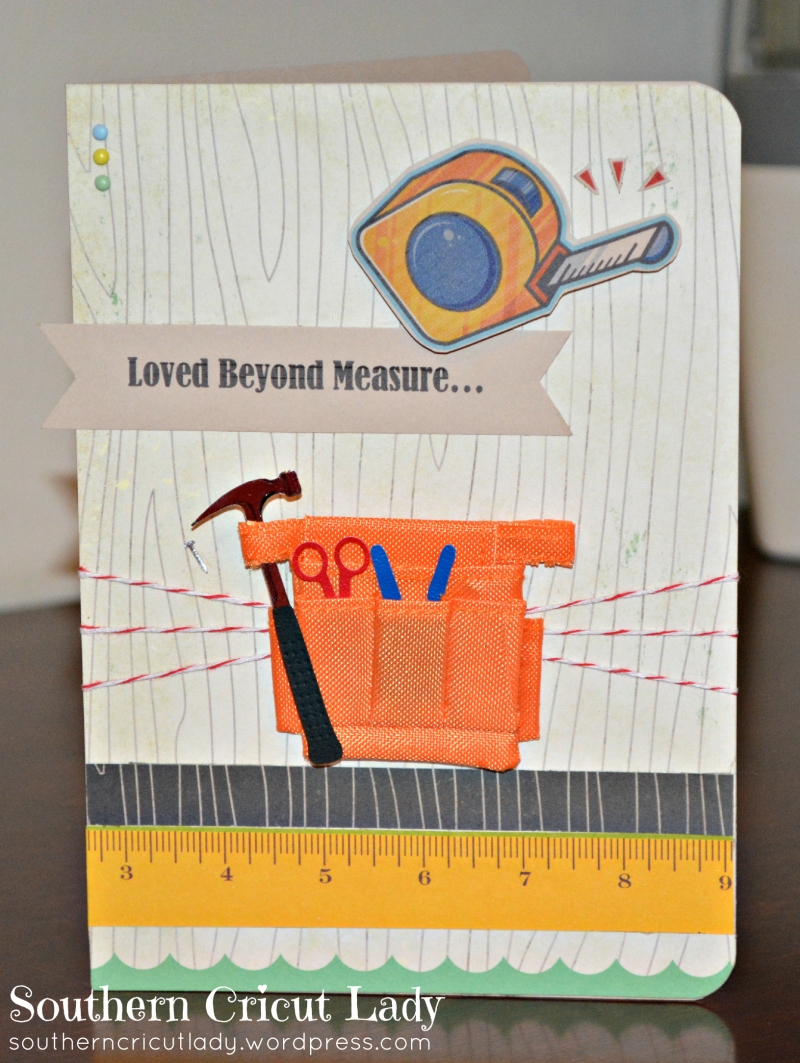
I rummaged through my scrapbook and paper stashes, and the computer, to make this 5×7 card for my husband’s birthday. He is a tool guy and probably has around 10 tape measures. The tapes must only be one brand and only one width – Stanley 3/4 inch. Length doesn’t matter as long as it’s at least 12 feet. 🙂 He always says, “You can never have too many measuring tapes.” But he also says this about flashlights and scissors… and socket wrenches, screwdrivers, and any other kind of tool.

LovedBeyondMeasure

When he’s not stuck behind a desk, he loves getting his hands dirty. His idea of a relaxing weekend is working on a tractor or refurbishing scrap to make something useful. He’s unique and I love him.

So this card is in honor of him and what he loves most – tools. One of his favorite sayings is “Measure twice, cut once”. I think he heard Norm Abram say this on the New Yankee Workshop (which also happens to be the title of Norm’s book), though I also think his dad instilled this important truth in him at an early age.

I found the card sentiment from an unlikely source. I recently bought a small storage box from Dollar General. It was only a dollar, plus I just liked how the box looked. It’s decorated with a ruler, button, and butterflies. It states on the front “Loved Beyond Measure” and that’s where this card idea came from. So there I was trying to find a measuring tape design in my patterned paper stash. I couldn’t find anything resembling a tape measure but I did find a sheet of various colored rulers in an “All Seasons” pad by Recollections. It’s intended for a “back to school” theme but I cut out the yellow ruler to mimic a Stanley tape measure. And because my husband loves woodworking, I used a tan sheet of wood grain paper from Crate Paper’s On Trend line. The actual tape measure clip art is from my computer. I printed it twice onto grey cardstock to dull the colors a bit and hand trimmed each piece. One piece is glued directly to the card and the other is raised up with dimensionals. I typed the sentiment in Word using Bernard MT Condensed 20 pt. font. I trimmed the phrase down with a paper trimmer and then hand cut the banner ends. I’ve noticed a new trend in cardmaking to offset points of interest so I let the banner go beyond the card’s edge. I like the way it looks. It can be tricky for an envelope but I will just cut one a bit larger in Design Studio.

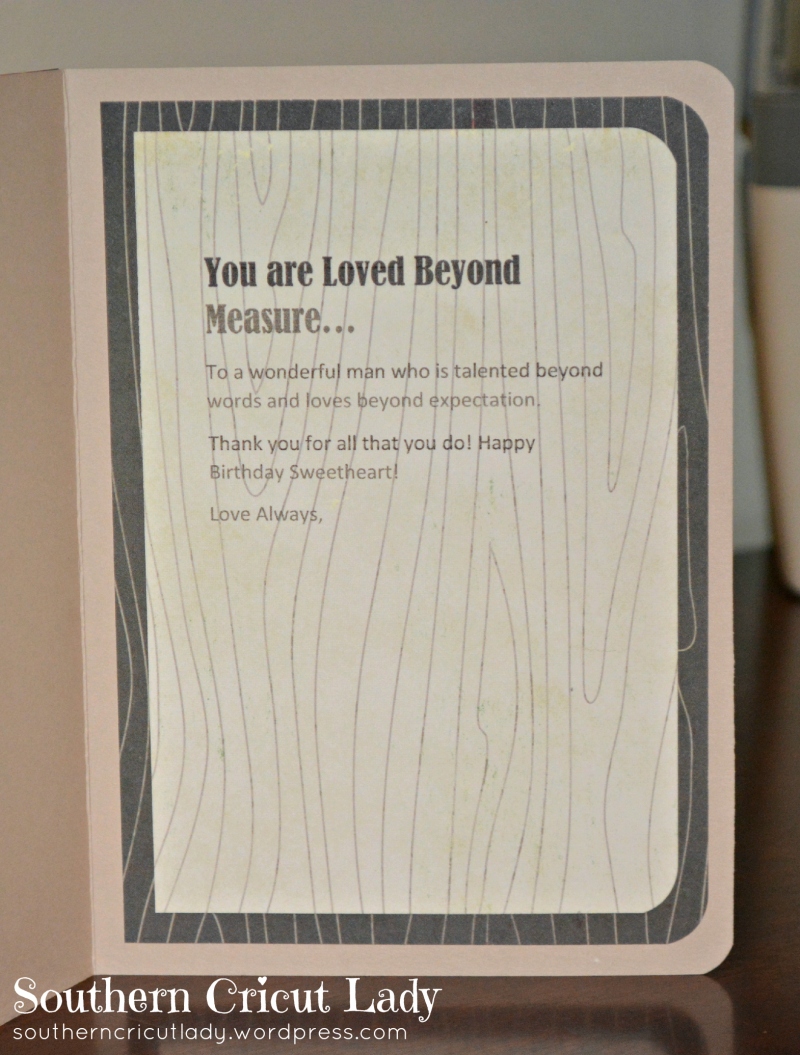
The 12×12 tan woodgrain paper used to make the card face has a blue scalloped edge where the company name is listed. I cut a section of this trim to add some more color to the bottom of the card. The darker woodgrain strip, also from On Trend, was added last to build up the bottom design. I think it adds a nice break from the lighter background. I used these same papers for the inside of the card and printed a message with my computer.

InsideMsgMeasure

The cute toolbelt is a Jolee’s scrapbook embellishment I’ve had since around 2007. I bought this toolbelt thinking I would make a scrapbook page dedicated to some of my husband’s woodworking projects. Since that has not happened yet, I used it for his birthday card. It fit the theme and why not? 🙂 Better to use it now than it sit in the box for another 6 years! Do you see the tiny nail adhered directly to the card?

The red baker’s twine is from Martha Stewart. I added three tiny brads to the left corner with a 1/16th hole punch. And the last touch was using a corner rounder on the right edges of the card.

So that’s my dedication to my tool-loving, woodworking, and mechanically inclined husband. 🙂 He better like it after the scavenger hunt mayhem I commenced in my craft room. This truly was a labor of love.
Birthday Card – FFC Sketch Challenge

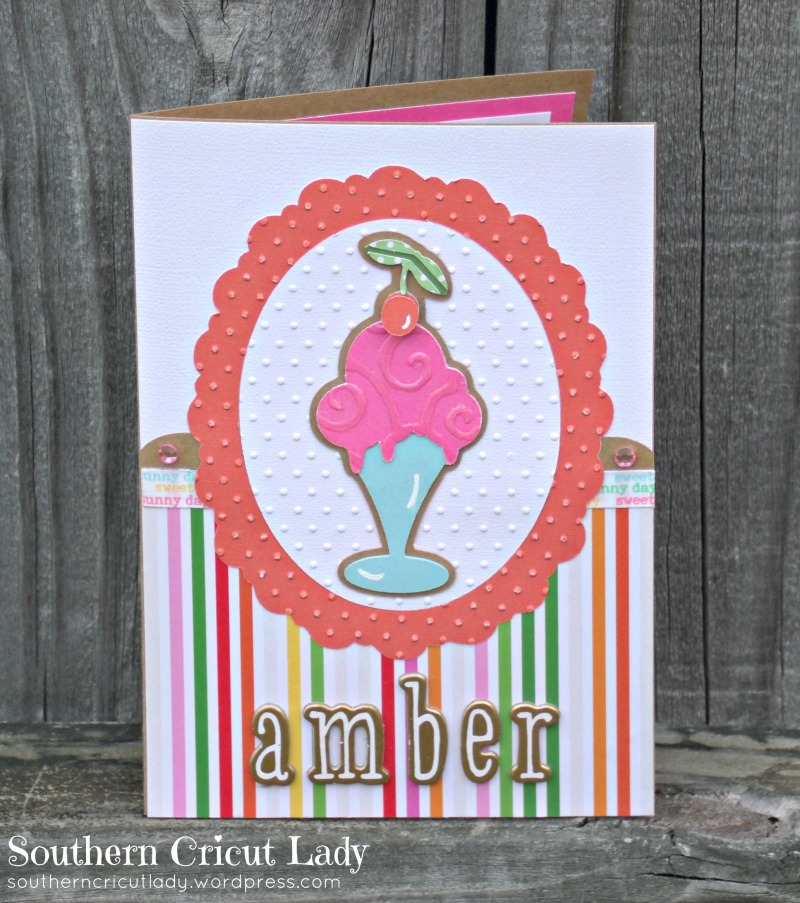
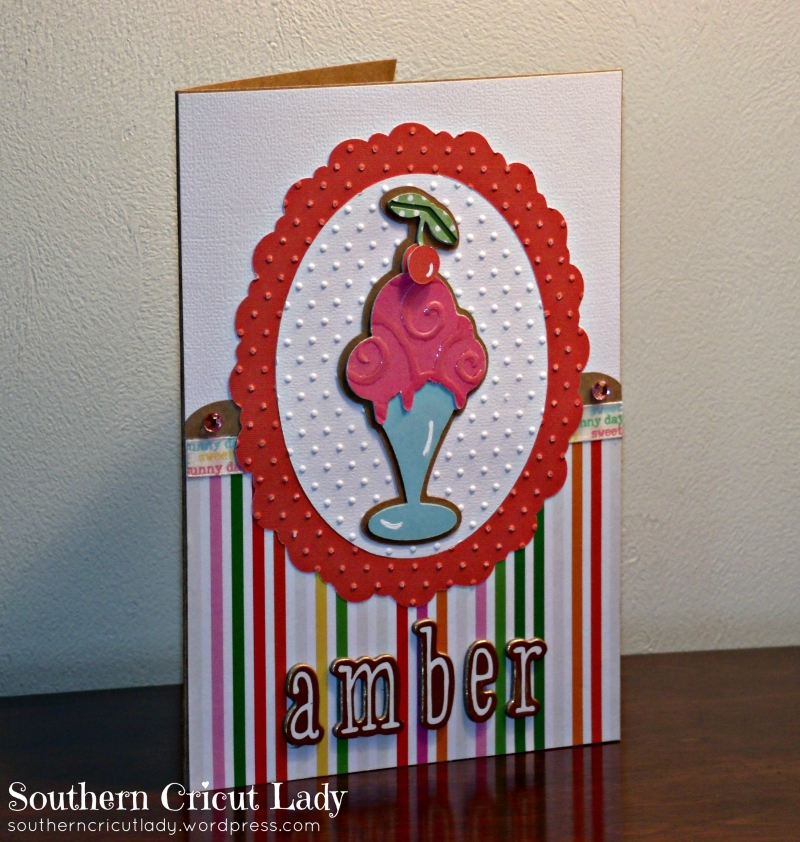
Hello! I have never done a sketch challenge before but thanks to Jo at Jo’s Scrap Shack, I took the plunge and I’m so happy I did. My niece’s birthday is coming up so I decided to use the sketch as my inspiration to make Amber’s card. She is turning 11 and growing up so fast!

Ice Cream Sundae Birthday Card

If you want to check out the sketch to see how I did, go to Jo’s post here. Every Friday, she hosts a Funday Friday Challenge (FFC) and everyone is invited to play along! This sketch challenge ends June 7th, 6:00 pm CST. Winners will be announced on Monday, June 10th.

Ice Cream Sundae - JBC

Card Recipe

Cricut’s Just Because Cards – Sundae (3.5 inches)

Cricut’s Fancy Frames – Frame and oval (4.25 inches)

Cuttlebug Embossing – D’vine Swirls & Swiss Dots

Glossy Accents

White Gel Pen

Adhesive gems

Dear Lizzy Ribbon

Dear Lizzy 5th & Frolic Thickers (foil letter stickers)

Assorted papers (Recollections All Seasons, Colorbök, and Kraft cardstock)

Inside message printed in Word

Inside of Card

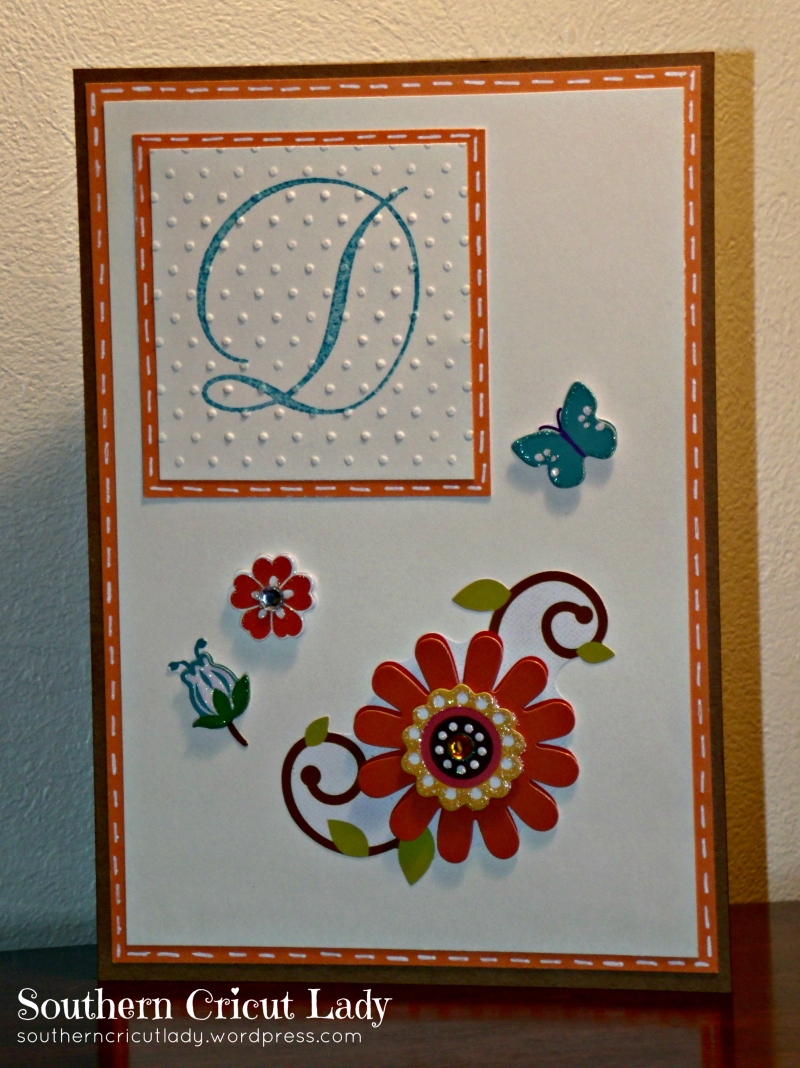
Quick & Simple Birthday Card

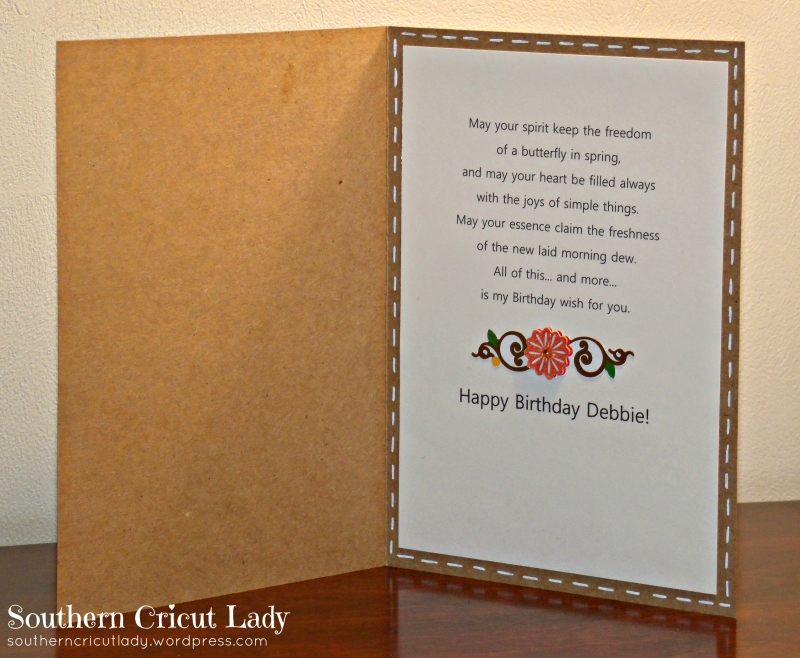
My sister-in-law’s birthday ‘snuck’ up on me so I made a quick birthday card today to get it in the mail! The Kraft card base measures 5×7. Then I added mats in orange and cream. I stamped a “D” in turquoise ink from Ink It Up! for Debbie’s initial and ran it through a Swiss Dots embossing folder. I framed this with another orange mat. Using a Uni-ball Signo white gel pen, I added some “stitching” and then embellished the card with “Special Moments” stickers I found last week at Dollar Tree. They even have little rhinestone embellishments. What a great find for $1.00!

GEDSC DIGITAL CAMERA

I printed the inside message using my computer and added another 3-D sticker and some more faux stitching.

GEDSC DIGITAL CAMERA

Thanks for checking it out!

Vanessa

Pinky, Sparkly Birthday Card

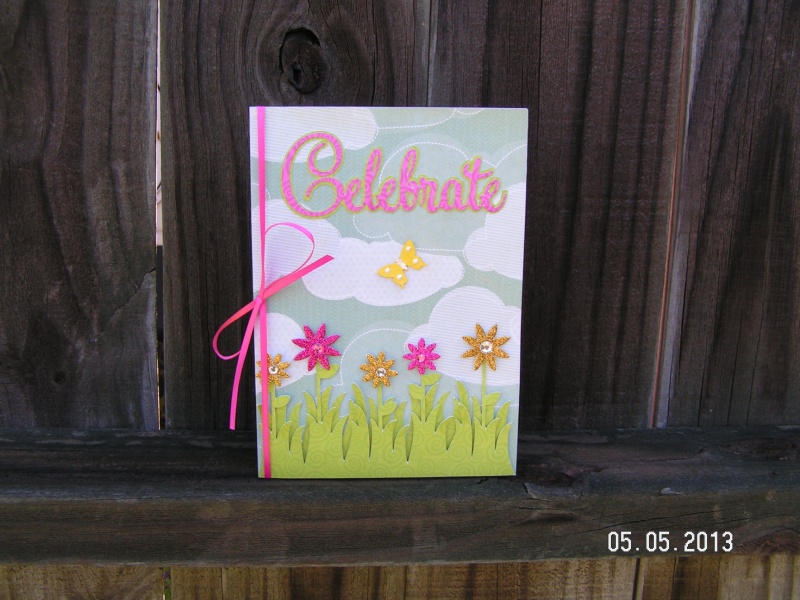
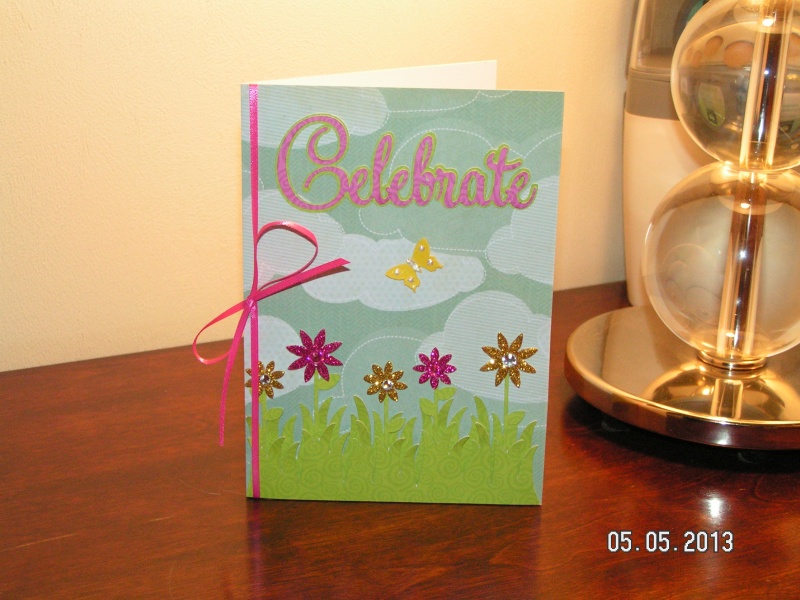
Here is a 5 x 7 birthday card I made for my sister. It’s really girly and was easy to make using the flower stickers from American Crafts Dear Lizzy 5th & Frolic. The fun cloud paper is from Michael’s Recollections All Seasons Cardstock Paper (8.5 x 11 stack). I trimmed a sheet down to 5 x 7 inches and adhered it to the white card base using my pink Scotch ATG gun.

Pinky, Sparkly Birthday Card

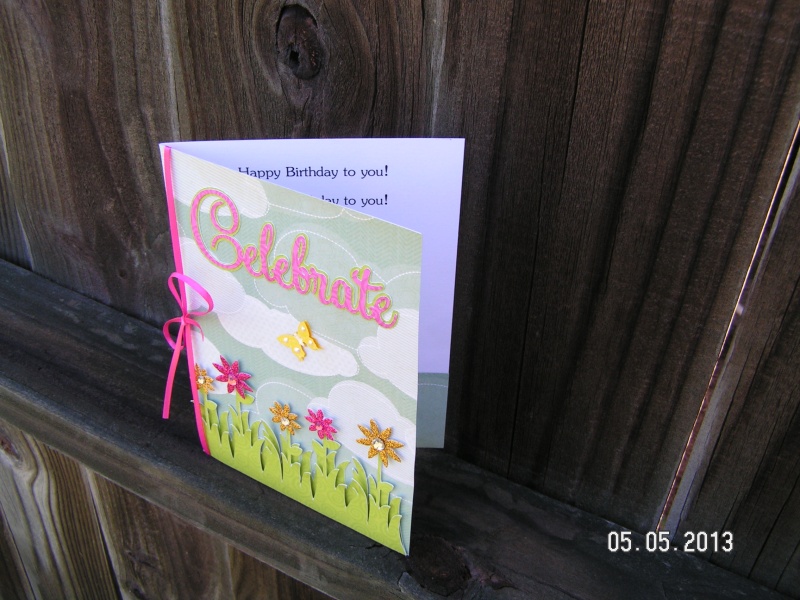
Side View

The grass layers (base and base shift)  were cut from Straight from the Nest (SFTN) at 2.5 inches. The bottom grass layer was adhered directly to the card base and then I used foam dimensionals to raise up the top grass layer that has the flower stems. I used The Paper Studio’s Celebrations paper pack for the grass and for the word “Celebrate”. The Celebrate layers (phrase and phrase shadow) were cut from SFTN at 1.5 inches. The Zig 2-Way glue pen does a perfect job for these smaller, intricate cuts. I added a pop of bright pink 1/8 inch ribbon and tied a bow. I punched 2 butterflies out of yellow cardstock using a punch from Emagination. I glued one directly to the card base and then used a glue pen on the center of the top butterfly so I could raise its wings a bit. Before adhering the top butterfly, I coated it in Clear Rock Candy Distress Stickles, let it dry, and then used Liquid Pearls White Opal to add some more detail.

Celebrate Birthday Card

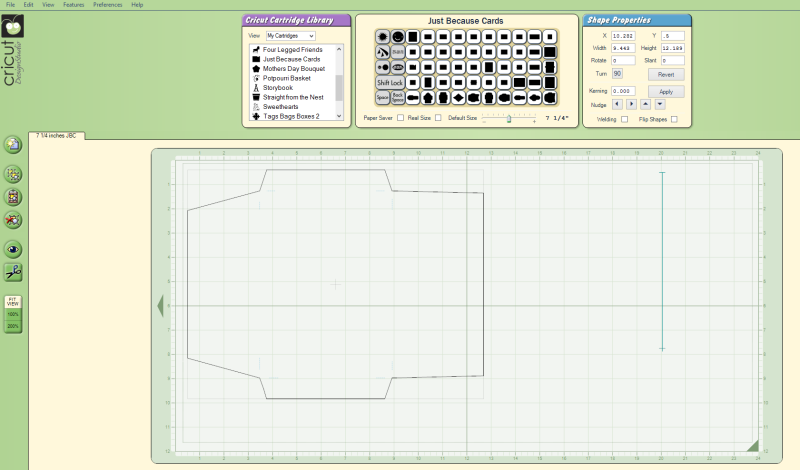
I like how this card came together easily but with fun, girly colors and lots of sparkle. For a quick 5 x 7 envelope, use “Just Because Cards” and cut out the third envelope on the bottom row of the key pad at 7 1/4 inches. For these larger envelopes, a 12 x 24 mat and longer paper are needed. I use 11 x 17 cardstock from Desktop Publishing Supplies. I also used Design Studio to rotate my envelope 90 degrees to have the envelope cut lengthwise. I hide the score marks before cutting for a cleaner look and use my score board to score the folds. A 7 1/4 inch envelope leaves plenty of room for the 5 x 7 card that may have slightly raised dimensional layers.

Envelope (JBC)

Envelope JBC 7.25 inches for a 5x7 card

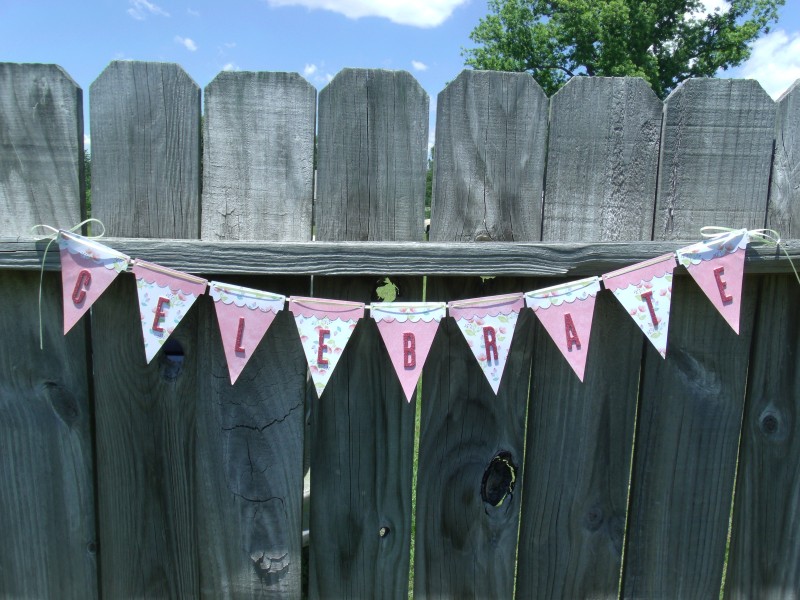
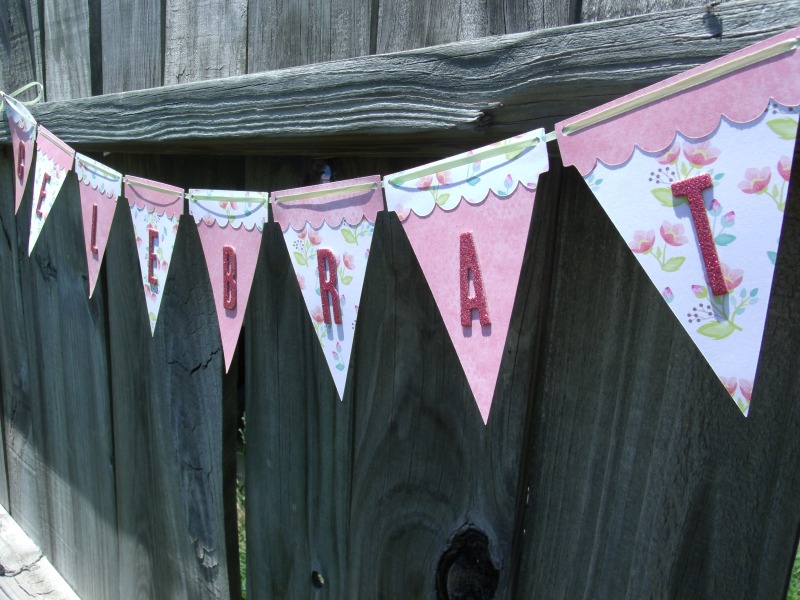
“Celebrate” Birthday Banner for My Sister

Hello all – I wanted to share a banner I made for my sister for her recent birthday. She and her husband came up for a lovely birthday celebration at my parents’ house. We displayed the banner on Mom and Dad’s fireplace in the formal living room.

Crate Paper On Trend Shoebox Thickers - Pink

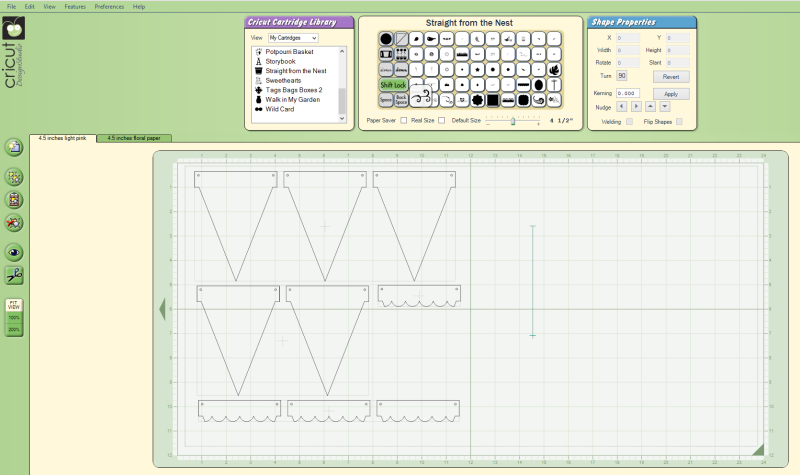
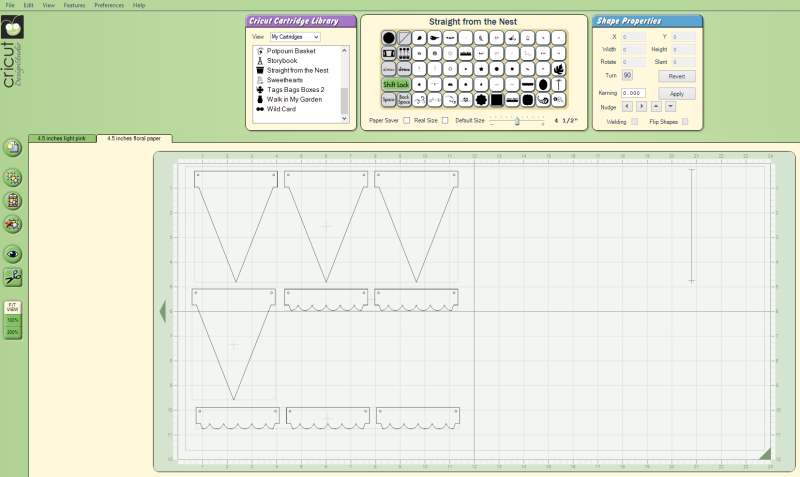
I used Cricut’s “Straight from the Nest” cartridge to cut out the banner using two sheets of patterned paper from American Craft’s Dear Lizzy 5th & Frolic. I wanted to spell out the word “CELEBRATE” so I cut out 5 triangles and four toppers out of pink paper and 4 triangles and 5 toppers out of floral paper (all at 4.5 inches). I like alternating my toppers against a contrasting paper.

Birthday Banner

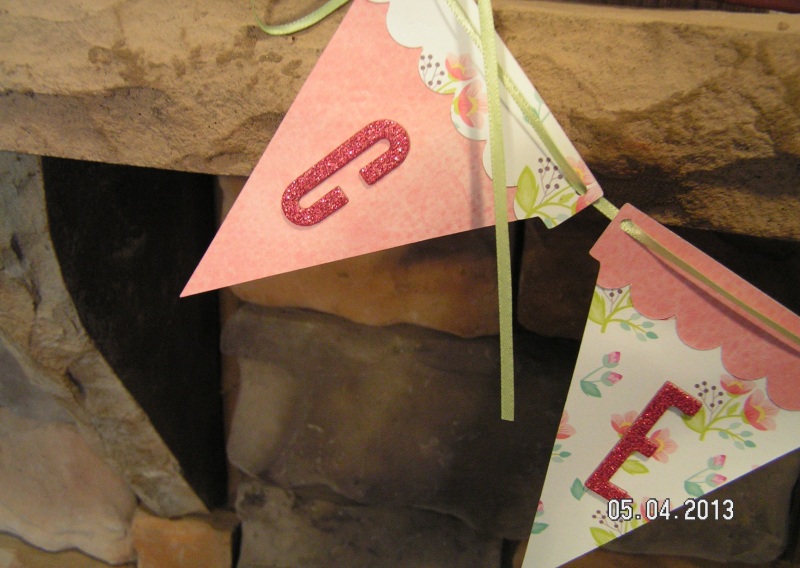
The glittery letters are also from American Crafts but from their “Crate Paper – On Trend Shoebox” line. They’re called ‘Thickers’ which are glitter chipboard letter stickers. These are pink (rose) and matched the Dear Lizzy floral paper well. Using the stickers made this a quick and easy banner to make. I adhered the banner toppers to the base using my favorite glue pen – Zig 2-Way Glue. Since the banner holes cut out too small, I enlarged the holes with a 1/8 hole punch and then threaded 1/8 light green satin ribbon through each banner piece and tied bows at the end.

We secured the banner to the fireplace with glue dots but this proved to be insufficient, so Mom came to the rescue with some extra-strong masking tape! It stayed up all weekend! 🙂

Banner Layout - pink paper

Banner Layout – pink paper

Banner Layout - floral paper

Banner Layout – floral paper

Close Up

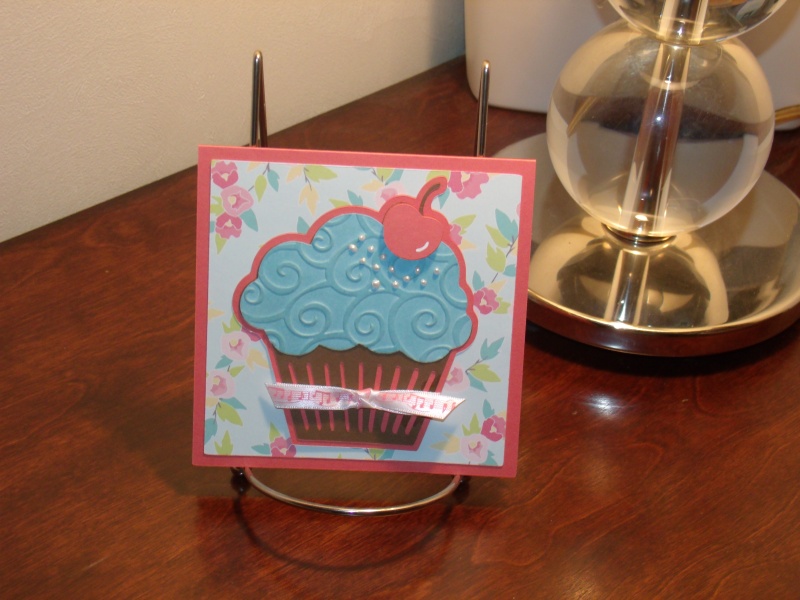
Cupcake Birthday Card

I tried out some new paper I received from Northridge Publishing’s Christmas giveaway. The floral paper is from American Crafts’ Dear Lizzy 5th & Frolic! I love how pretty this paper is! This was my starting point for a birthday card for my dear mother-in-law! It went really well with the Recollections Preppy Beach cardstock my sister gave me for my birthday!

Cupcake Birthday Card

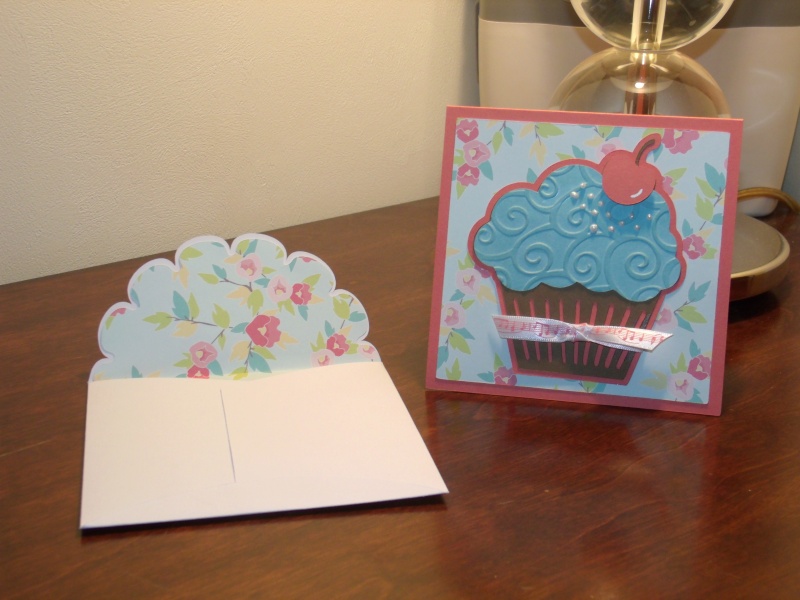
The cupcake is from Cricut’s Straight from the Nest cartridge cut at 4 inches.  I ran the cupcake icing through my D’vine Swirls embossing folder. I then took a Versamark pad and rubbed it on the embossed swirls for a bit of definition. I used Liquid Pearls for the sprinkles. The cupcake is finished off with a bit of Dear Lizzy ribbon. My MIL loves all kinds of music and I thought this ribbon added a nice touch.

The envelope and liner are cut from Wild Card (doily blackout) at 5 inches. The inside stamped sentiment is from Fiskars All Year Greetings.

Envelope & Liner - Wild Card

Cupcake - SFTN

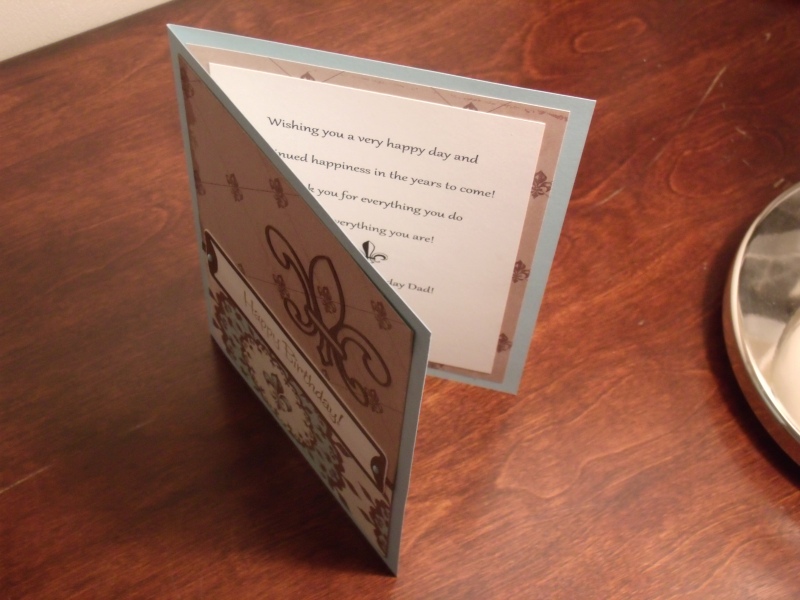
Fleur-de-lis Birthday Card

Hello again! I have another masculine birthday card to share. I made this one for my Dad who celebrated his 65th birthday recently! I used Potpourri Basket for the two die-cuts and let the beautiful French Prep paper from Colorbok do the rest! On page 45 of the Potpourri Basket cartridge, I found a fleur-de-lis image that went perfectly with the paper. This image is originally from the Wedding cartridge. I cut this at 2 1/2 inches in brown cardstock. I also cut a 1 1/8 inch frame using <Plate> and it’s shadow layer on page 67. I stamped “Happy Birthday” from TPC Studio using brown Stampabilities ink. The frame is originally from the Street Sign cartridge.

Fleur-de-lis Birthday Card Inside Mat with Printed Sentiment

One of my favorite color combos is chocolate brown and light baby blue. I think this combo looks great for masculine cards and it’s so peaceful. The card measures 5×7 and I used tiny baby blue brads to secure the frame to the mat before adhering to the card base.

Thanks for checking out another birthday card! 🙂

Vanessa

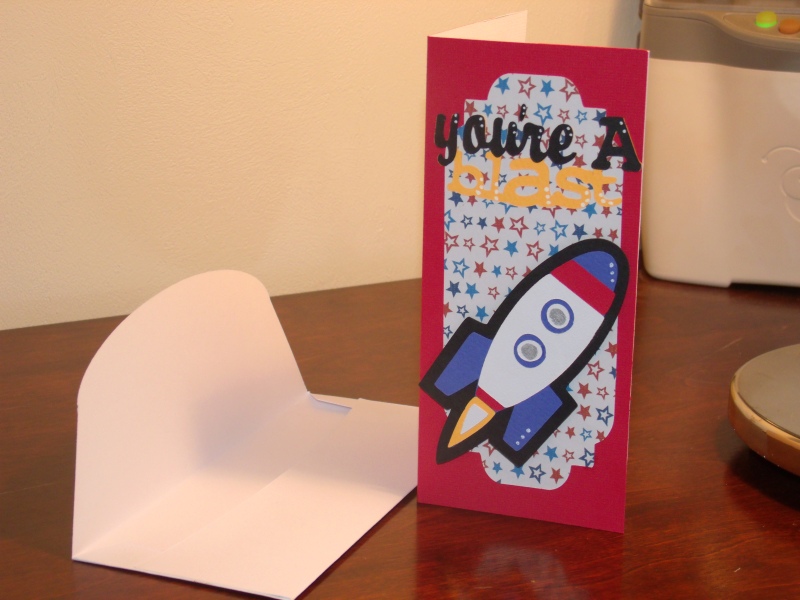
You’re A Blast – Birthday Card

Rocket Card - Just Because Cards

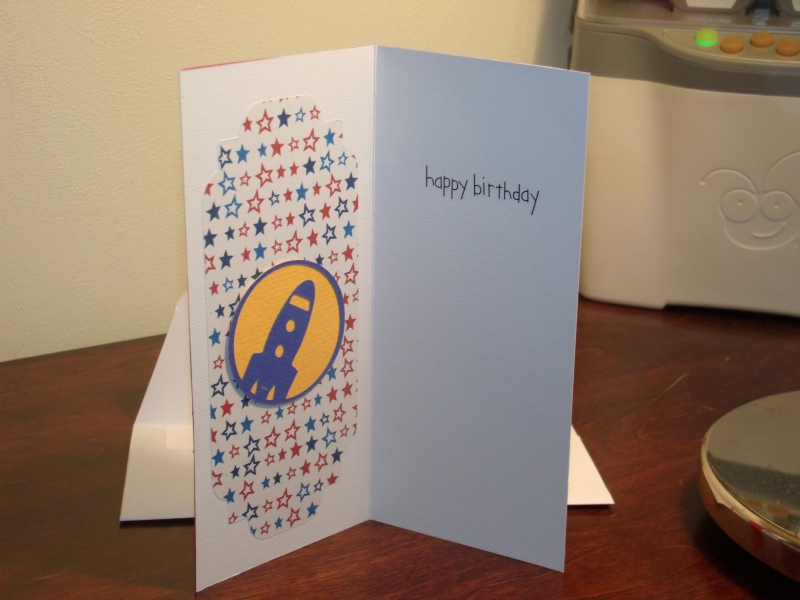
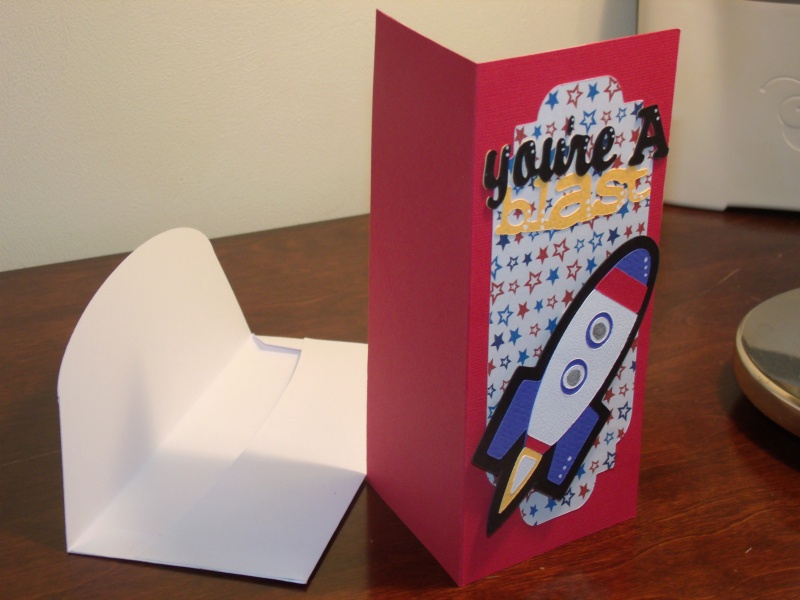
This card is for my nephew, Cody. He is turning 15! This left me with a challenge though as to how to make him a card appropriate for a teenager and it be a masculine card as well. My Cricut cartridges are limited so I don’t have many images for teenagers. Luckily, on the “Just Because Cards” cartridge, there was a rocket themed card so I went with that. I hope it doesn’t look too young. The entire card is made using all of the layers for the rocket theme, even the card base. All of the layers are cut at 7 inches, except for the inside sticker which is cut at 2 inches. The envelope is also cut at 7 inches and fits the card very well. The card when folded measures 3 1/8 x 7 inches so it’s a tall, skinny card. I did something a little different on this one – I glued another card base in white to the inside of the red card base. It looks like a liner and I like the added weight. The “Happy Birthday” sentiment is a rub-on.

Inside of Card

Side View

Thanks for looking!
Vanessa

Bird Cage Shaped Card

Happy November 1st! We are now in the countdown to Thanksgiving which is one of my favorite holidays other than Christmas! 🙂 For those who stop by and check out my little crafty corner, I thank you for your visit! And for the wonderful people who follow my blog and leave such sweet, supportive comments, please know I appreciate you all so much. Your support gives me the confidence to share my paper crafts with you through this blog. I’m still learning and growing in this hobby and thrilled that I can share the journey with so many people who love paper crafts as much as me! My sweet Mom recently celebrated a birthday and we had a wonderful time with presents, cake, and ice cream. I made her a bird cage shaped card accented with a pretty K & Company die-cut butterfly. Below are clickable photos showing how to create this card using the Cricut Lite Bloom cartridge and Design Studio:

Cage Shadow – 6 inches

Cage Shadow – Distressing with Brown Ink

Hand-trimmed inked shadow layer to hide behind white cage

6 inch cage with flower centers – white cardstock

Back side of white cage with inked shadow layer trimmed to fit

Welded Bird Cages – 6 inches – inner cuts hidden (cut in light blue cardstock)

Layers of cage shaped card

Flower and leaves layer – 6 inches (cut 2 sets in turquoise for dimension)

Flowers – 6 inches (cut 2 sets in red for dimension)

Side view of cage shaped card

Details close-up

Cage Shaped Card

Supplies:

  • Colorbok 12×12 Textured Cardstock, Soft Pastels (light blue, white, turquoise) – Wal-mart
  • Ampad Earth Tone Cardstock (tan) 8 1/2 x 11 – Wal-mart
  • Red patterned paper – My Mind’s Eye “Simply Delightful”
  • Butterfly Die-cut – K & Company Que Sera Sera Die-Cuts & Acetates
  • Pearl Embellishments – Michael’s
  • Tan Hemp Cord – Wal-mart
  • Stampabilities Brown Ink – Hobby Lobby
  • Foam Adhesive Dimensionals – Michael’s

Autumn Owl Birthday Card with Envelope

Ok, this is one of those cards that I’m not thrilled about. I hope it grows on me in time before I make the decision to mail it to my other brother-in-law who has a birthday coming up later in October. Since he has an autumn birthday, I wanted to use fall-colored patterned paper for the owl card on the “Wild Card” cartridge. I have never made this card before and the opportunities for embellishment are limited due its shape. To make it a bit more masculine, I added a velvety orange belt and used a leaf slider from the “Straight From the Nest” cartridge as a buckle. I wanted to add a birthday sentiment and the only space left was at the top. To keep it from being too plain, I added some maple leafs  and now the placement reminds me of a cluster of flowers as if this was for a female! Maybe I’m just too close to it since just having made it and it’s not that bad. Any whooo (pun intended), I do like the greeting printed on the inside that starts with “Greetings Wise One” so I may just run with it.

The card base was cut at 5 inches along with the corresponding envelope (Wild Card). The slider was cut at 1 & 1/4 inches and worked well with the 1/4 inch ribbon. I ran the slider and the leaves through my Swiss Dots embossing folder and used Ink It Up! inks to distress them. The autumn paper is from Paper Studio’s “Natural Botanical” stack at Hobby Lobby. I used Glossy Accents on the beak, buttons for the eyes, and a rub-on for Happy Birthday.

The inside greeting was printed using my computer. To do this, cut another owl card on lighter paper and cut it in half with scissors. You will need to use the right half to print the sentiment. Take note of the length and width of your shape so that your text doesn’t overflow and get cut off. I use a plain sheet of copy paper first to test how it will print and adjust as needed. Once I am happy with the result, I line up the shape on the back side of the copy paper and tape it down on a few edges. Then just run it back through your printer so that the text prints on the shape. Peel off the tape and adhere the sentiment to your card base. Sometimes when I’m lining up a shape on the back side of copy paper I forget to flip the shape when actually taping it down. Keep this in mind so that the text prints on the side you want.

Thanks for taking a look! Any opinions (negative or positive) are welcome :).

~Vanessa