Set of Mother’s Day Cards

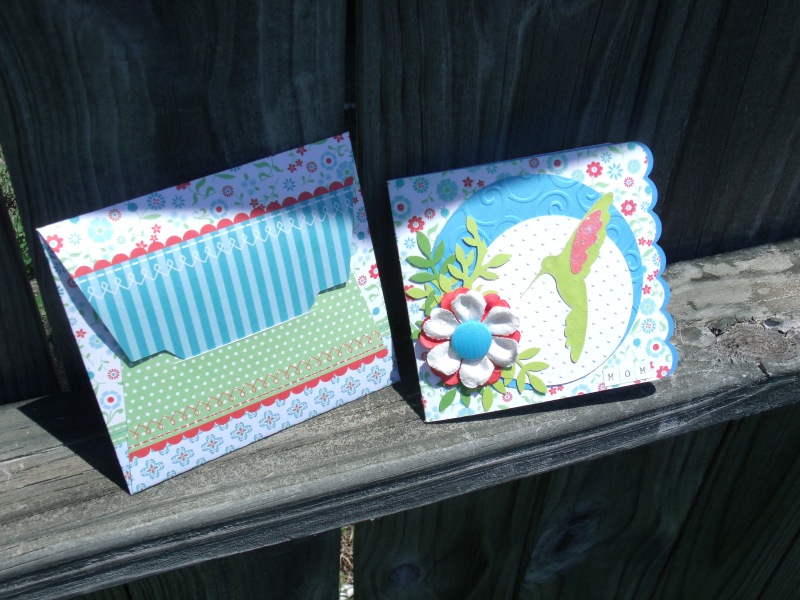
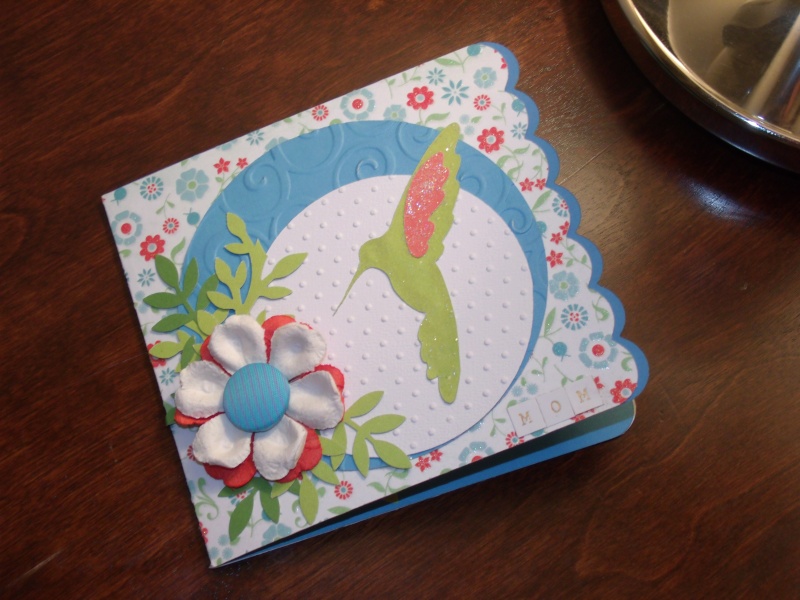
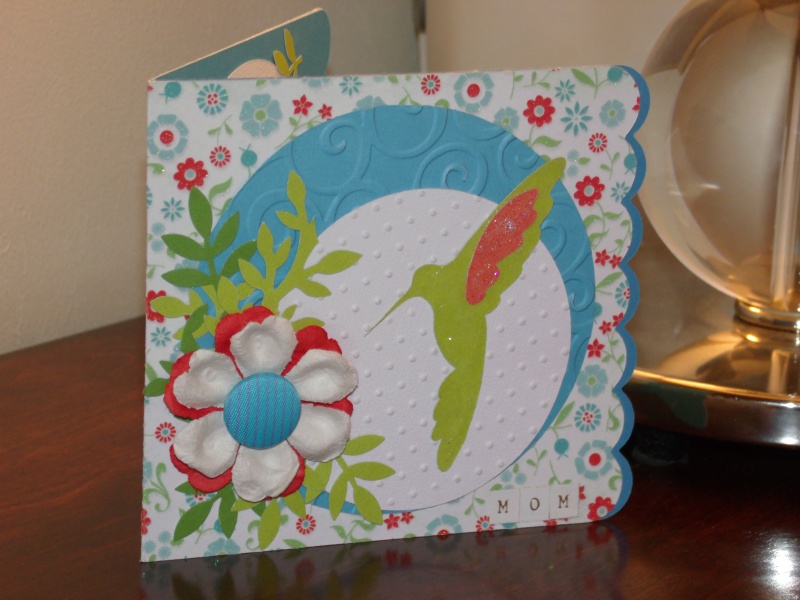
I made Mother’s Day Cards for my dear Mother and Mother-in-law. The first one I want to share is the hummingbird card I made for my Mom. She loves hummingbirds so I made her this inspired card using the Cricut Pagoda and Tags, Bags, Boxes, & More 2 (TBBM2) cartridges.

Hummingbird Card - Pagoda, TBBM2

Last weekend, I found DCWV’s Nana’s Kitchen Stack at Michael’s on sale for $4.99. I used the pretty floral paper for the card and envelope (TBBM2 page 34 card, page 35 envelope). The card originally has small circles that cut out on the the card’s spine but I hid these in Design Studio (DS). The scalloped card base is cut at 4.5 inches from TBBM2. I cut a second card base in light blue cardstock to serve as a liner and adhered it inside the card. I must not have scored the liner perfectly centered to match the floral card base because it sticks out on the front but the two layered scalloped edge is a happy accident.

Card and Envelope - TBBM2

I used Accent Essentials to cut out the two circles on the front of the card (3 and 4 inches) and one more 4 inch circle for the inside message. The leaves are made from two Martha Stewart punches – Frond and Vine Trim. The hummingbird is cut from the Pagoda cartridge at 3 inches. I added Distressed Clear Rock Candy on the hummingbird and Stardust Stickles on the wing. The flower layers are from the dollar bin at Michael’s and the button brad is from American Craft’s Crate Paper “On Trend” line. I used Cuttlebug folders on the circles on the front of the card – Swiss Dots and D’vine Swirls. The “MOM” alpha stickers at the bottom right of the card face are from Dear Lizzy 5th & Frolic.

Mother's Day Card

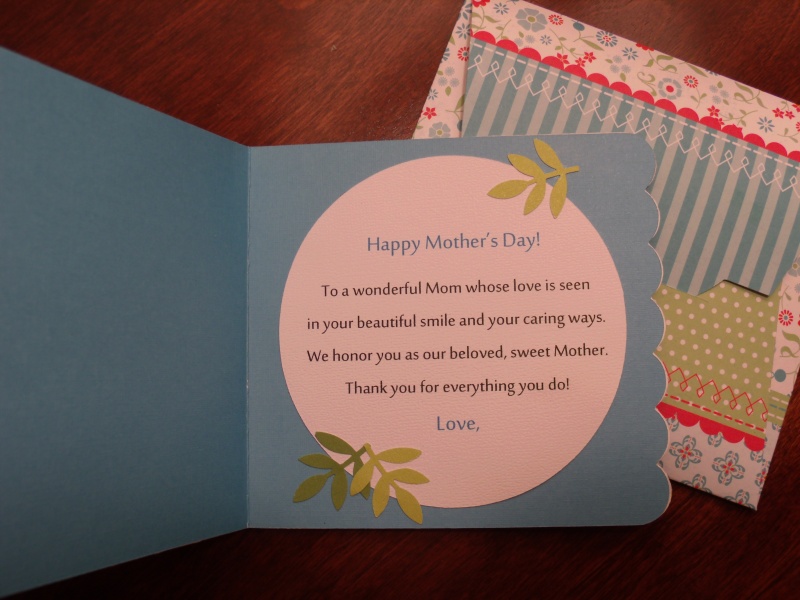
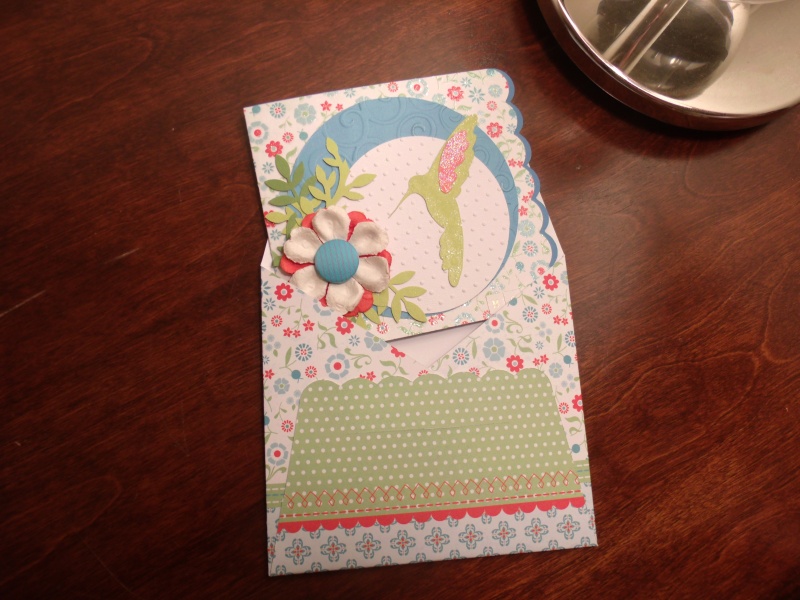
I wrote a personal message to my Mom in Word and printed it on a 4 inch circle and adhered it to the inside of the card. I then punched out more fronds and adhered them with a Zig 2-Way glue pen. I cut the corresponding envelope in TBBM2 a little larger than the card base because there’s dimension on the card. I cut the envelope out at 4 3/4 inches.

Inside Message

Envelope - TBBM2

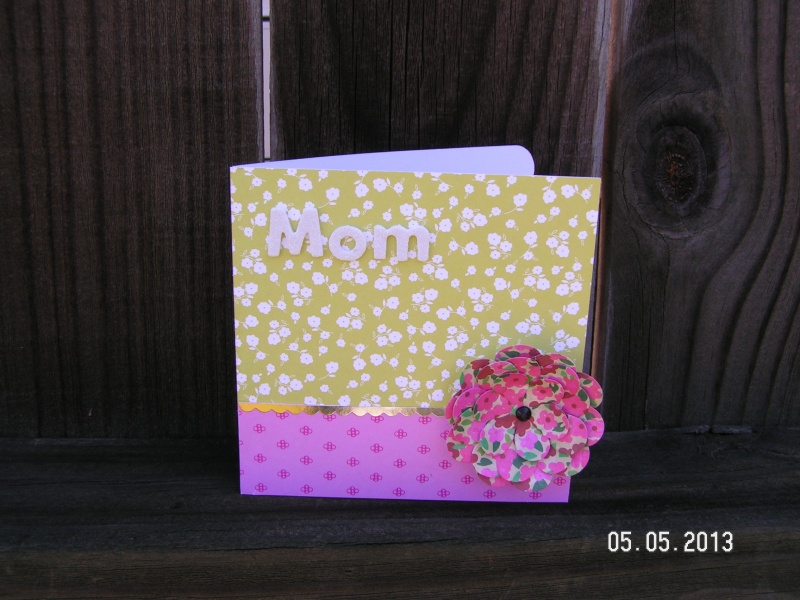
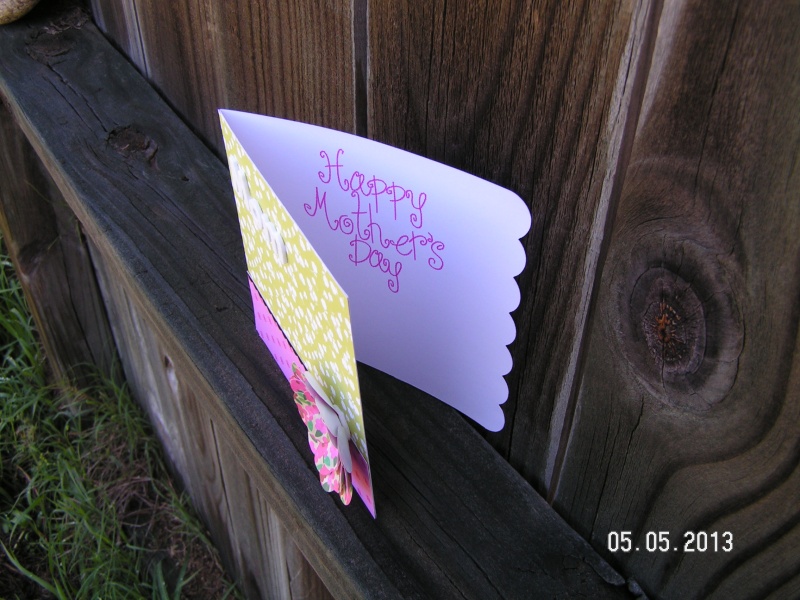
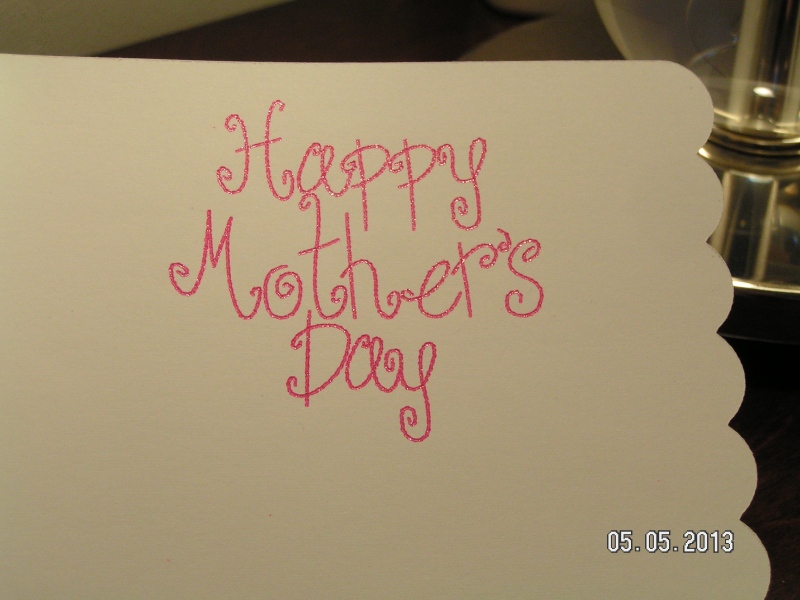
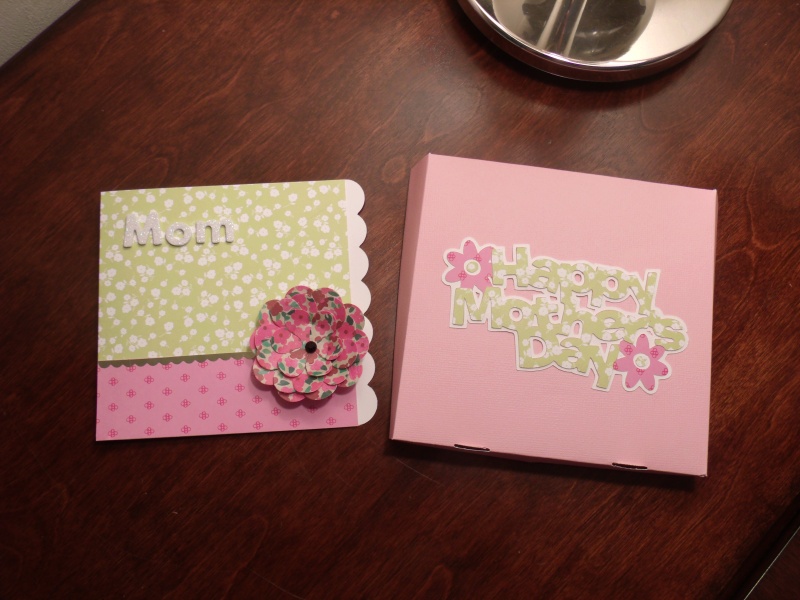
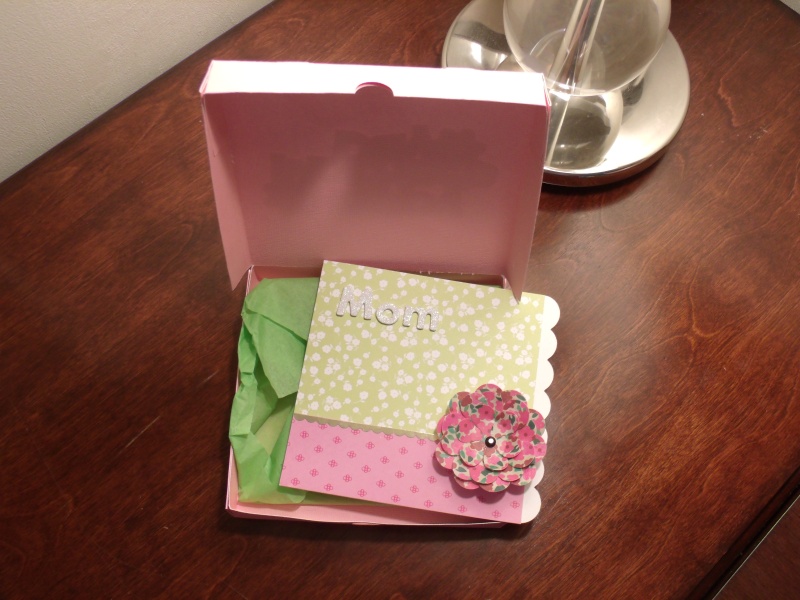
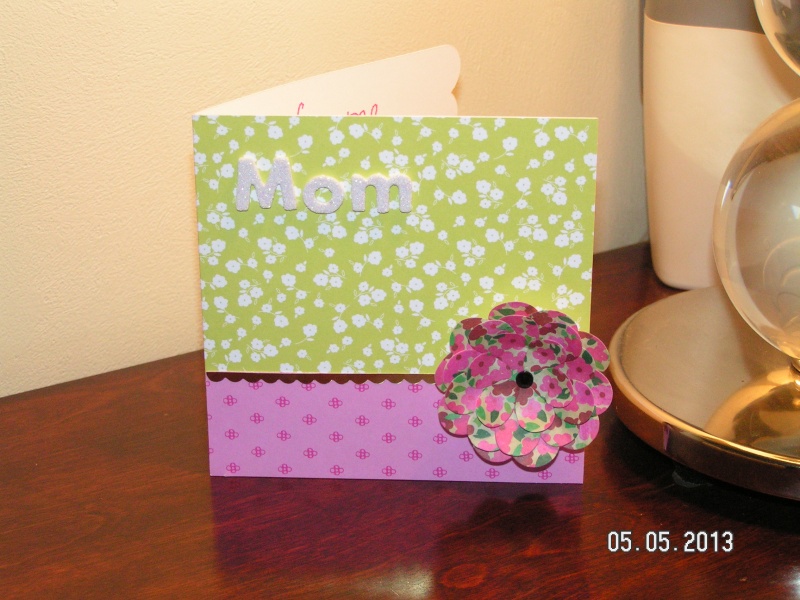
The second card is for my Mother-in-law. I used TBBM2 again for the card base and for the mini pizza box. The flower embellishment is very dimensional so I made the pizza box to put the card in. I used the card feature on page 24 at 5 inches. I also used the “Happy Mother’s Day” phrase on page 41 at 5 inches using a pink Cricut Gel Pen. To get it to print on the inside of the card, I rotated the Mother’s Day phrase 180 degrees to print it upside down.

Mother's Day Card  - American Crafts lines

Inside of card

Cricut Gel Pen (Pink) - TBBM2 phrase

The pizza box is cut at 9 inches (page 68). I cut this out in one piece so I used Cricut’s pastel 12×24 cardstock. There is the option to cut sections 1 and 2 and adhere them together for a larger box. I used 1/4 inch Scor-Tape to assemble the box. I decorated the lid with the Mother’s Day phrase layers cut at 2.5 inches (page 41).

TBBM2 - Card and Box

The paper used on the card and on the box’s lid is Dear Lizzy 5th & Frolic. The paper is two sided (green and pink). The paper flower is from Crate Paper’s On Trend. The gold scalloped border on the card face is from Dear Lizzy 5th & Frolic’s Accent and Phrase Sticker book. The glittery alpha stickers (Thickers) are also from 5th & Frolic.

Mini Pizza Box with Card - TBBM2

Mother's Day Card

I’m entering the hummingbird card into the following challenges:

Fantabulous Cricut Challenge (Challenge Me Monday – #159 Mother’s Day – create a Mother’s Day card). Deadline: 7:00 pm (CST) May 12, 2013.

Cardz TV Stamps DT Challenge #29 (“There’s No Other Like My Mother” – make a card, layout or craft project for Mother’s Day!) Deadline: Noon (EST) May 16, 2013.

My Craft Spot Challenge (Monday Post #96 – For Mom – create something special for Mom). Deadline: May 13, 2013.

Happy Mother’s Day to everyone, everywhere! 🙂

Vanessa
Mother’s Day Tea Cups

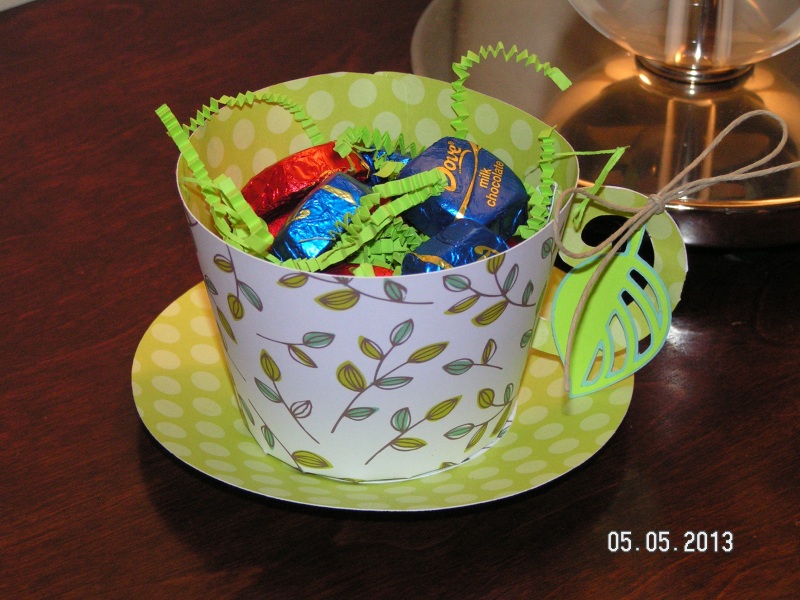
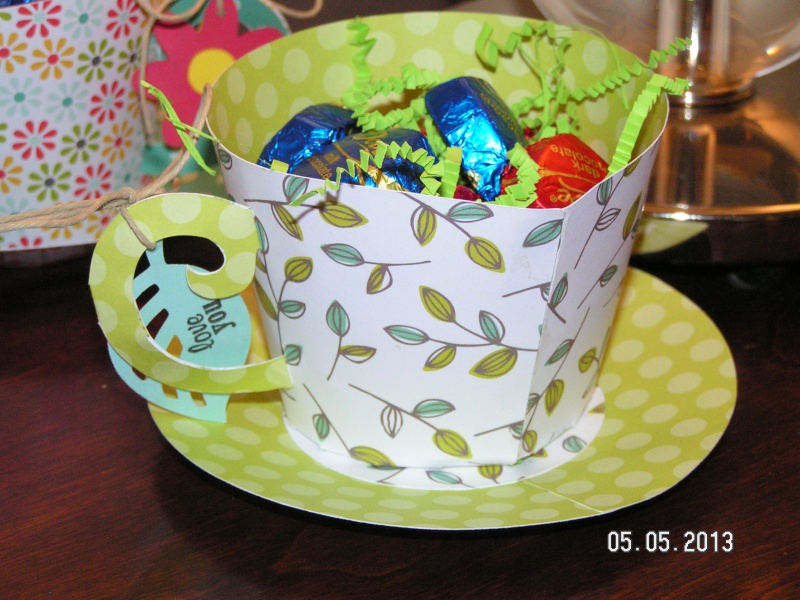
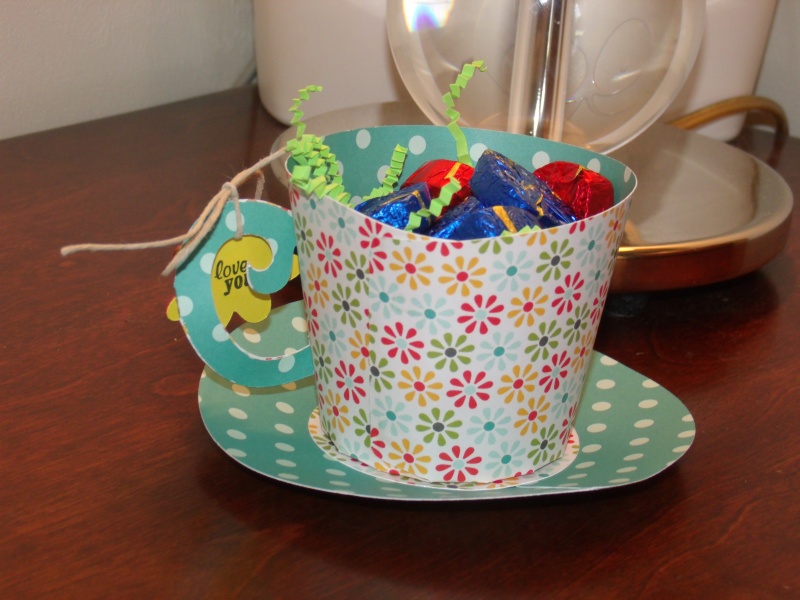
First I want to wish everyone a very Happy Mother’s Day! I also want to send special Mother’s Day wishes to my sweet Mom and Mother-in-law! For these two lovely women in my life, I made each of them a paper teacup filled with chocolate using Cricut’s Tags, Bags, Boxes, and More 2 (TBBM2). I cut both at 11.5 inches (or fit to page size). This will fit on a 12×12 sheet of paper. I used Dear Lizzy 5th & Frolic paper for the cup with leaves and Pebbles Seen & Noted paper for the cup with flowers. Both 12×12 sheets are double-sided with polka dots so I assembled the cups and saucers using both sides of the paper for a coordinated look. I learned an important tip when using the scoring tip. You have to make sure you turn off “Fit to Page” when scoring or the score lines will not line up where needed. I forgot to turn off “Fit to Page” when using the scoring tool so my scoring was off, but luckily the score lines weren’t that visible so I used the cuts as they were and manually folded the tabs on the cup by hand. I used Glossy Accents to adhere the pieces together and it held wonderfully!

Mother's Day Teacups - TBBM2

I made little tags for the cups that coordinated with the paper patterns. For the leaf cup, I cut a 1.5 inch leaf with its shadow from Accent Essentials. I used a 1/16th hole punch on the stem. For the flower cup, I cut both layers of a 1.5 inch flower tag from TBBM2.

Paper Teacup 1 - for my Mom

I stamped “love you” to the back of each tag using a small stamp from Fiskars All Year Greetings. I used twine to tie the tags to the cups’ handles. I filled each cup with paper filler and Dove milk and dark chocolates.
Back View

Paper Teacup 2 - for my MIL

Back View

I’m entering the teacups into the following challenge:

Cardz TV Stamps DT Challenge #29 (“There’s No Other Like My Mother” – make a card, layout or craft project for Mother’s Day!) Deadline: Noon (EST) May 16, 2013.

Happy Mother’s Day!

Vanessa

Autumn Banner

Hi all! This will be a quick post (well, quick for me LOL), as I am still getting the house ready for our family’s Thanksgiving! I had a banner planned out since October but didn’t make it until today. I was determined to get it done, even if it’s only to be used this week! I used Cricut’s “Straight from the Nest” cartridge for the banner’s triangles and toppers which were cut at 7 1/2 inches. The banner is cut from two sheets of Paper Studio’s 12×12 “Natural Botanical” patterned paper. Here is the layout of my mat. I cut this layout twice (once in light green leaf paper, and once in brown leaf paper). It made it quick and easy.

For the letters, I used Cricut’s “Designer’s Calendar” cartridge. “A” “U” and “N” are cut at 6 inches, “M” at 5.5 inches, and “T” at 4.5 inches. I alternated the colors of the letters using beige and brown cardstock to show up well against the alternating banner colors. I also ran each letter through a Swiss Dots embossing folder before adhering. I connected the banner sections with bows made from twine. I’m not really pleased with how it’s hung – note the two neon green push pins! 😦 But it works from a distance. I couldn’t find any clear push pins and I couldn’t think of another way to hang it, so the green pins will have to do!

So that’s my first banner! I plan on making one for Christmas too. I think it adds a nice touch to the fireplace.

I am entering this banner into the following challenges:

Due to the holiday, this will be my last post for this week. I’ve got family coming in from Florida and we plan on having a nice Thanksgiving meal and visit together!

I wish you all a wonderful and happy Thanksgiving! Blessings to you and your families!

~Vanessa

“Special Delivery” Anniversary Card

Hello all ~ I made a card for my sister and brother-in-law’s upcoming anniversary. They have an autumn anniversary so I played on the idea of autumn leaves but kept the card’s colors bright and playful to fit any occasion. I love the stamp image on Wild Card so I played on the theme of “Special Delivery for two special people” which is the inside sentiment that I typed in Word. The special delivery design can be seen in the stamp mat, the postal mark I made in Word, and in the miniature envelope filled with autumn leaves. It’s as if the envelope idea is deconstructed – envelope, then postal mark, then stamp. It was fun  playing with these elements to design a card for a special event.

The stamp image on Wild Card is found under the alphabet feature. It normally has an inner cut that reads “stamped with love” but I hid these lines to just get the stamp shape cut at 4.5 inches. I then added a square mat measuring 4 inches which I ran through my printer to print the postal mark. I sewed these two layers together with a zig-zag stitch (this is the second time I’ve sewn a card so it’s not perfect! 🙂 ). I cut the cute envelope at 2.5 inches from Just Because Cards and the leaves are from Potpourri Basket cut at 2 inches (these are originally from Doodlecharms). The card base is 5 inches square so I cut an envelope from Walk in My Garden at 5 inches to mail it to my sister! The leaves are doodled with a fine point black pen and distressed with brown ink. I then embossed them with Cuttlebug folders – D’vine Swirls and Swiss Dots. I added a little bow to the envelope with a glue dot.

I am entering this card into the following challenges:

http://fantabulouscricut.blogspot.com/2012/11/challenge-me-monday-136.html (Fall Harvest – Make a project using Fall leaves) Deadline: Midnight November 11 (MST)

http://cardztv.blogspot.com/2012/11/attitude-of-gratitude-cricut-cardz.html (Attitude of Gratitude – Make a card for Thanksgiving using any cartridge(s), and any colors you’d like) Deadline: Noon November 20 (EST)